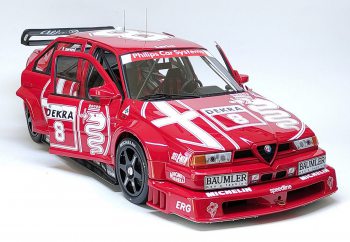
By Geo Tziafas
The Alfa Romeo 155 V6 Ti from the DTM series is one of my favorite model cars, so I couldn't resist and, just a few days after receiving it, I immediately placed it on my workbench. Actually, I was looking for a way to relieve the pressure from various events in my daily life. The kit seems more refined and of better quality compared to the McLaren F1 GTR kit, for example, which I had built some time earlier. A clear indication of this is that I have seen several completed by modelers, while the McLaren remains a 'rara avis.' Apart from the version I built myself, there may be others, but to date, I haven’t seen them.
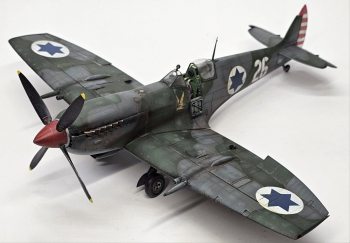
By Michael Mass
The 1/32 Spitfire Mk. IXe No. 26 project from the 101st IAF squadron has finally been completed. The Pitot tube was added after the photos were taken. The base kit is the excellent Tamiya #60319, which includes magnets for removable upper and side engine fairings. The conversion to the Mk. IXe version involved replacing the main guns and the upper and lower service covers for the outboard 20mm guns.
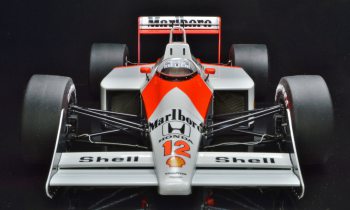
By Mark Laird
I have seen many people building the 1/12 scale Meng MP4/4. Since this car held the record for the most wins in F1 until the end of the 2023 season, when the Red Bull RB19 claimed that title, it's a car I've always been interested in building. After admiring the work of others on their models, I decided to take the plunge and purchase one myself. With over 50 years of experience building models, I couldn’t resist the urge to customize it rather than assembling it straight out of the box.
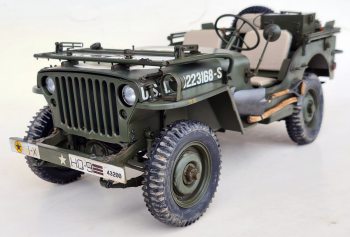
By Mario Covalski
I tried to detail it as much as possible using only what was in the box. I remade the seat cushions, detailed the engine, applied weathering... etc. This wonderfully detailed, 1:8 scale replica is of a Willys MB Jeep that played a vital role in shaping the destiny of World War II. On June 6 , 1944, this Jeep® – along with thousands of men and vehicles from the 1st Infantry Division – landed on Omaha Beach in Normandy on D-Day. It then took part in continuous offensives across France, eventually reaching the German border before participating in the Battle of the Bulge. It helped set up the bridgehead at Remagen, and also saw action in the Rhine and Ruhr. More than just a battlefield 4x4, this 1st Infantry Division Willys MB Jeep® has been involved in some of the US Army’s most significant campaigns in the European theater of World War II.
By Allon Kira
By Allon Kira
By Felice Ferriello
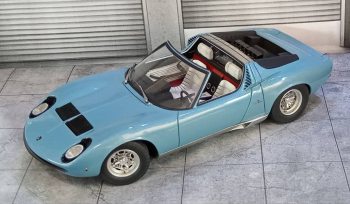
This tutorial is based on showcasing and explaining the main modifications to convert the Hasegawa Miura P400 SV kit into the Miura P400 Roadster, as well as the added details. I won't delve into the assembly of basic components since the purpose is to share with the reader the more complex tasks. The rest is well-known as the Hasegawa kit has been around for several years. This model is dedicated to my wife Lyska, who supported me with patience and love throughout the process.
By Lars Wahlström
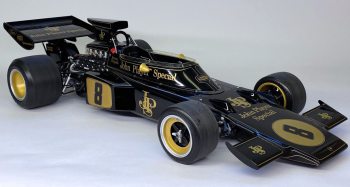
I had already started my own research and looked for reference images and information. I also joined a Facebook group and got a lot of tips. The kit was released in the UK before in the EU, so many had already started their builds and discovered inaccuracies. The objective of this tutorial is to share with the reader the work done, not only to assemble the kit, but also to get the most out of it, adding details and missing parts, painting where necessary, etc., always guided by the references. to which I had access. Hoping it is useful to others.
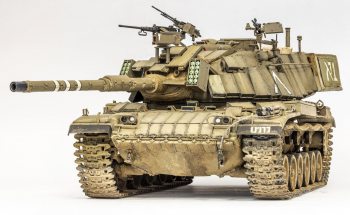
By Allon Kira
This is an excellent kit from AVF. I built it almost out of the box, and concentrated on the painting. Being a tank that operated in the desert, the weathering is based on natural wear and tear from use and pigments to represent the sand.
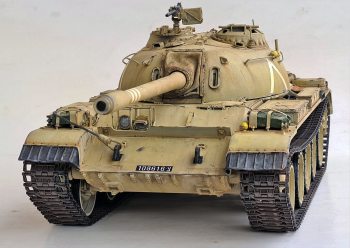
By Mario Covalski
The aim of this tutorial is to share with the reader the modifications made on the 1/16 T-55 from the firm Hooben, to convert it into a T-54 first. then in a Tiran 4 of the IDF (Israeli defence forces) early. The model represents a Tiran 4 as it looked in the period between 1972 and 1974. Besides to help the reader, especially to those who has never built a Hooben T-55, to solve the problems I had to deal with, alert them to several problems that appears after some use, like it happened to me with the one built in 2011 (the old kit version).
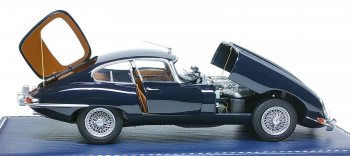
By Geo Tziafas
A true masterpiece, an automotive treasure that, when it was first unveiled six decades ago in 1960 at the Geneva Motor Show, prompted Enzo Ferrari to declare it the most beautiful car in the world, takes the spotlight in the following article. With over 70,000 units of the E-Type produced, it graced the Coventry factory floor in three distinct phases: Series 1 (1961-1968), Series 2 (1969-1971), and Series 3 (1971-1974).
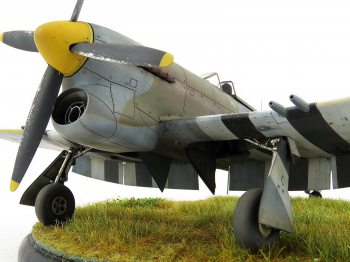
By Gary Wickham
Eduard has recently released a new tooled Hawker Tempest Mk.V family in 1:48 scale. I have the Mk.V Series 1 ProfiPACK (82121) kit as well as the Big SIN (64856) set which includes a full Brassin Cockpit, Exhausts, Wheels and Landing Flaps. I also have some of the Barracuda Studios correction sets including the spinner and radiator intake. I'll highlight all these goodies (and compare them to the kits parts) as I progress through the build
By Lars Wahlström
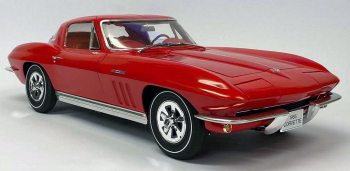
In 1977, as a Christmas gift from my brother, I got a model kit of a 1965 Chevrolet Corvette Sting Ray in 1/8 scale. The kit was made by Monogram, but the same kit was later also released by Revell. There were editions with the body in both red and blue plastic. I noticed quite immediately that the detail level was low, lower than many models in 1/25 scale. Not even the doors were operable and the chrome-plating quality was really poor. Comparing with the French Heller's super detailed 1/8 model kit of the Citroen B15, which I built earlier, the Corvette was toyish and a real disappointment for an experienced modeller. But I decided to take it on anyway.
By Geo Tziafas
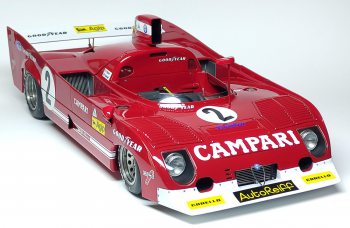
In the following tutorial I will share with the reader, many photos and explanations about the construction of the Alfa 33TT, I hope it will help and guide, for those who want to build this magnificent MFH kit, but this experience is valid for other similar kits of the same brand. This tutorial, very descriptive and with many good photos, can also serve as a general guide for other MFH kits in the same scale.
By Ricardo Gonzalez
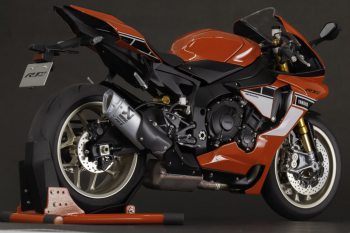
When I saw this Tamiya kit, I felt like I could do something special by adding aftermarket detail sets and doing a bit of scratch-building. My goal in writing this tutorial is to share with the reader the work I've done, not only in assembling and super-detailing the model but also in showcasing a customization by changing the look proposed by Tamiya.
By Geo Tziafas
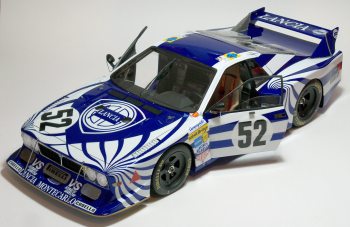
Starting a Hiro kit build is essentially starting a game of chess. Each move affects the next and the slightest mistake may cost in fitting or detailing issues. In addition, as in the famous board game, the more moves (test fits) you are ahead the better you can predict the way they will interact with each other and the less likely it is to be checkmated during the final assembly.
By Edwing E. Merlo Paredes
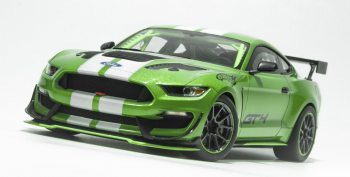
Basically this kit has been built straight out of the box, using almost all of the parts included in the kit, and small details such as generic photo-etched screw heads have been added. The objective of this tutorial is to share with the reader the steps that I followed to build this model.
By Antonio Busciglio
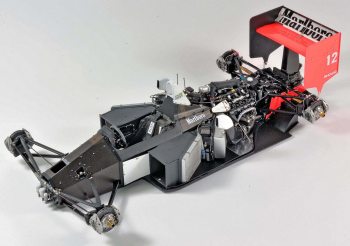
The Tamiya kit represents very well this icon of the 1988 season in its general shape but not regarding the mechanical parts and the cockpit area. As this is one of the F1s I like best, I decided to build it adding the superb Top Studio detail set (TS in the text) that includes resin and PE parts what makes novices to modelling feel fear. Besides, I’ve added several modifications and extra details which were necessary adding an extra effort. This article is to share my work with the hope that those who are less experienced than me, can build this model with some extra help.

By Joachim Kutt
This build report is about superdetailing the 1/20 Tamiya kit and turning the Jordan 191 into Schumacher’s ride. The kit, a typical Tamiya product of the time, represents the Silverstone race version most closely, so some modifications were necessary besides adding the correct decals from Studio27.