|
Armor |
|
||||||||||||||||||||||||||||||||||||||||
|
Building the Spanish AMX-30E from Meng Models 1/35 scale |
|||||||||||||||||||||||||||||||||||||||||
|
by Federico Collada © Modeler Site |
|||||||||||||||||||||||||||||||||||||||||
|
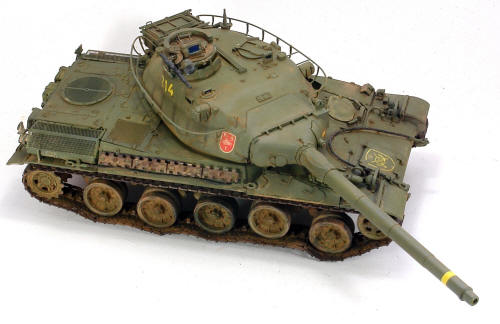
Legal Notice No material from Modeler Site any Web site owned, operated, licensed, or controlled by Damian Covalski may be copied, reproduced, republished, uploaded, posted, transmitted, or distributed in any way, except that you may download one copy of the materials on any single computer for your personal, non-commercial home use only, provided you keep intact all copyright and other proprietary notices. Modification of the materials or use of the materials for any other purpose is a violation of Damian Covalski's copyright and other proprietary rights. Read More here > Legal notice For many decades the only 1/35 model of the AMX-30 was the one produced by the French company Heller, which had some nice details but also some troublesome parts and what was evident, it lacked of subtle details so if you wanted to have a nicely detailed model of the French tank you surely had to work a lot. Few years ago, the Meng Models Company from China presented their new kit at the Scale Model World 2012 at Telford and they did it “the big way” placing the real AMX-30B from the Bovington tank museum aside so the modellers could compare and enjoy.
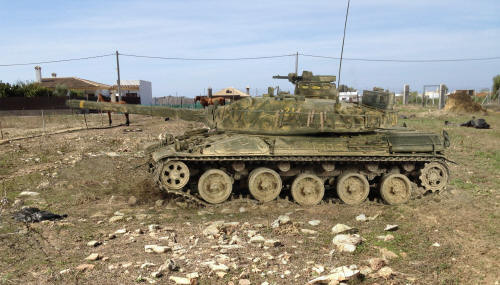
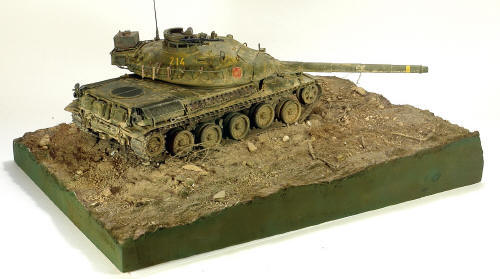
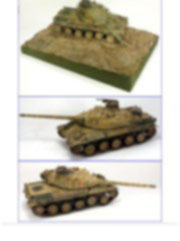
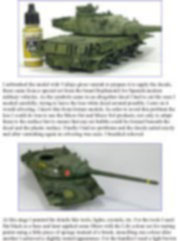
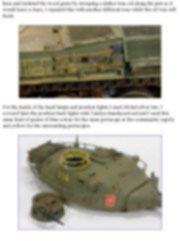
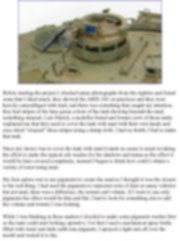
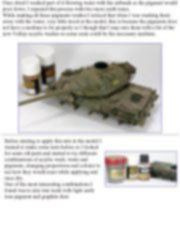
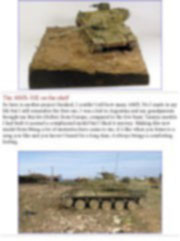
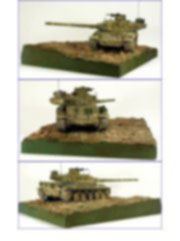
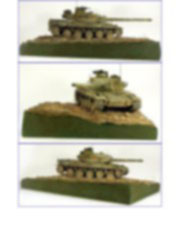
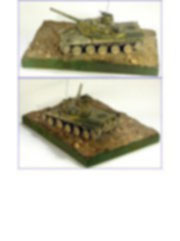
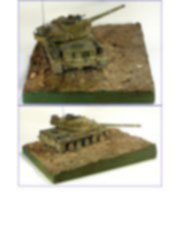
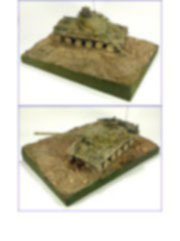
Back to the Meng kit, is made of 390 dark green plastic pieces with another 360 of brown plastic for the tracks links. A photoetched fret with a few parts and a transparent plastic frame with the lenses, periscopes, etc. A small decal sheet provides the necessary for two models, one in overall green and another one with the typical NATO three tone camouflage, both from the French army. As I wanted my kit to be an AMX-30E I had to look for the decals somewhere else. The Spanish AMX-30E I started the building, following the instructions from the step two, I left the wheels aside unglued for better painting them once I was to begin with the decoration. Some of the suspension parts are not to be glued so you can position the torsion bars in the angle you like to adapt the wheels to the terrain. That decided me immediately to create an irregular base for the model.
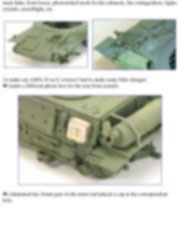
I continued with the instructions step by step but left aside some parts; tools, extra track links, front boxes, photoetched mesh for the exhausts, fire extinguishers, lights crystals, searchlight, etc.
This article is offered in PDF format to be read or printed using Acrobat reader, contact our webmaster > Here Includes more than 63 pics, here we show only the text pages.
Esta nota es ofrecida en formato PDF, el cual puede ser leído o impreso usando el Acrobat reader, contacte a nuestro webmaster > Aquí Incluye más de 63 imágenes, aquí solo mostramos las paginas de texto.
Big size photos are only available in our PDF format. Support us ordering our notes in PDF > Here |
|||||||||||||||||||||||||||||||||||||||||


