|
Armor |
|
|||||||||||||||||||||||||||||||||||||||||||||||||||||||||||||||||||||||||||||
|
Building a modified Dragon E-100 #6011 1/35 scale |
||||||||||||||||||||||||||||||||||||||||||||||||||||||||||||||||||||||||||||||
|
by Michael Mandau © Modeler Site |
||||||||||||||||||||||||||||||||||||||||||||||||||||||||||||||||||||||||||||||
|
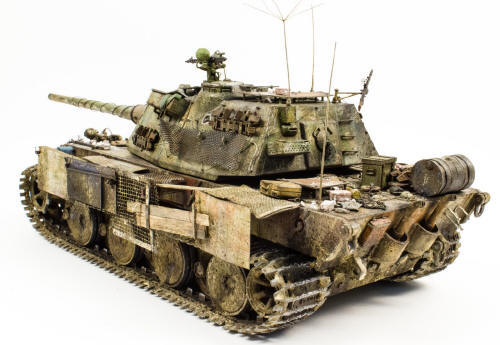
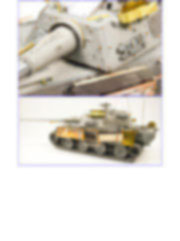
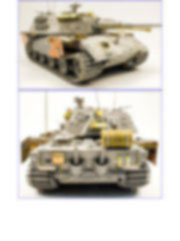
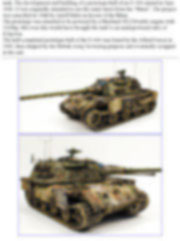
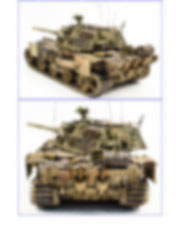
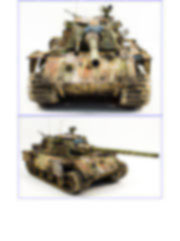
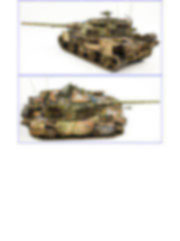
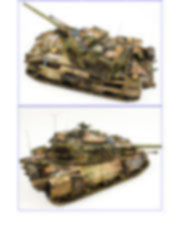
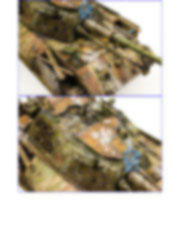
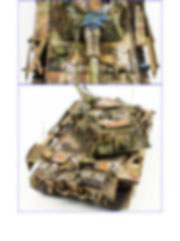
Legal Notice No material from Modeler Site any Web site may be copied, reproduced, republished, uploaded, posted, transmitted, or distributed in any way, except that you may download one copy of the materials on any single computer for your personal, non-commercial home use only, provided you keep intact all copyright and other proprietary notices. Modification of the materials or use of the materials for any other purpose is a violation of copyright and other proprietary rights. Read More here > Legal notice Because of the unbelievable size and the never completed prototype-phase, this vehicle was always on my wish list to build. But I just didn’t wanted to build a regular E-100 that have been seen plenty of times before – I like dirty paper-panzer with unusual features. So I decided to create a 1947 E-100 Aus. C fantasy tank in a “what-if” scenario. Therefore I was able to get the early Dragon 1/35 #6011 quite a while ago. Due to the fact that this kit celebrated its 20th birthday this year, my expectations into detail and quality were not too high. Nevertheless, Dragon made a got job two decades ago, but some parts had to be exchanged and complemented.
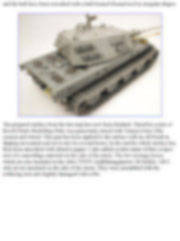
For most of the modifications are no reference-picture available and everything came just from my fantasy while building it. I always had a fable for extreme weathering and additional effect on the tank, sometimes far beyond what most modellers call “realistic”. But this was the perfect opportunity to push it to the limit by choosing the 1947 paper-tank scenario. Besides the manufacturer feature that would come with a new tank, I wanted to create a heavily battled, field modified monster of a tank. Building The built started straight from the box with the lower hull of the dragon kit. The assembly of the wheels and the undercarriage went without a problem. Only the turret aperture had to be widened because the Trumpeter turret is a little wider than the Maus-Turret. Dragon’s hull was intended to be fitted with the side-armour and as a result of this the details on the sides were very little. So I had to add the thickness of the front-glacier plate with some styrene sheet.
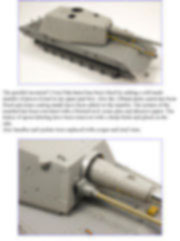
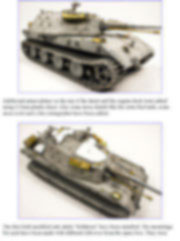
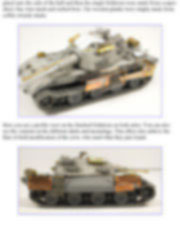
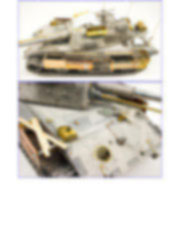
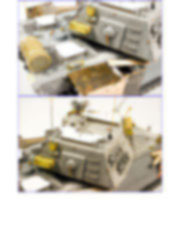
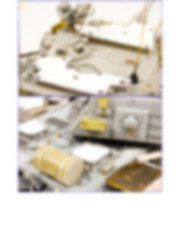
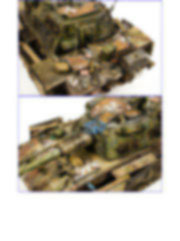
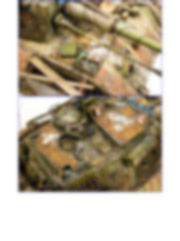
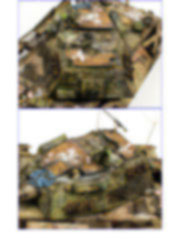
I also changed the barrel-parallel mounted machinegun to a 5,5cm FlaK. This seems to be more appropriate for a heavy tank like this - It also adds this certain Mad-Max character. Most hinges, grips and eyelets have been replaced with metal-parts. Also all tool-brackets were exchanged to the ones from the Aber-Set. The other parts of this etch-fret were brought to a new use with adding extra stowage-boxes to the sides and on the back of the turret.
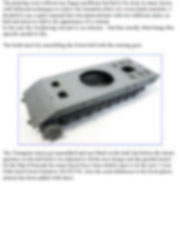
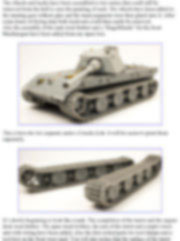
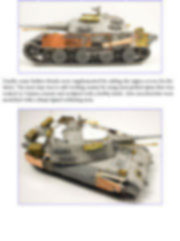
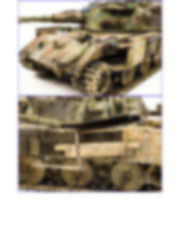
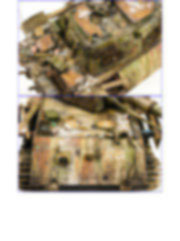
I also had to model a new texture to the surface because the 20 years old parts are flat as a mirror. Field modifications with additional skirts on the sides and armour on top were also added. The painting went without any bigger problems but had to be done in many layers with different techniques to achive the intended effect of a worn battle-machine. I decided to use a quite unusual late-war paint-scheme with two different styles on hull and turret to add to the appearance of a veteran. In the end, the weathering was put to an extreme – but this exactly what brings this specific model to life. The build starts by assembling the lower hull with the running gear.
This tutorial is offered in PDF format to be read or printed using Acrobat reader, contact our webmaster > Here Includes more than 118 pics, here we show only the text pages.
Esta Nota es ofrecida en formato PDF, el cual puede ser leído o impreso usando el Acrobat reader, contacte a nuestro webmaster > Aquí Incluye más de 118 imágenes, aquí solo mostramos las paginas de texto.
Big size photos are only available in our PDF format. Support us ordering our notes in PDF > Here |
||||||||||||||||||||||||||||||||||||||||||||||||||||||||||||||||||||||||||||||


