|
Cars |
|
||||||||||||||||||||||||||||||||||||||||||||||||||||||||||||||||||||||||||||||||||||||||||||||||
|
Building the MFH Ferrari 312PB Nurbürgring 1972 - #K180 1/24 scale |
|||||||||||||||||||||||||||||||||||||||||||||||||||||||||||||||||||||||||||||||||||||||||||||||||
|
by Geo Tziafas © Modeler Site |
|||||||||||||||||||||||||||||||||||||||||||||||||||||||||||||||||||||||||||||||||||||||||||||||||
|
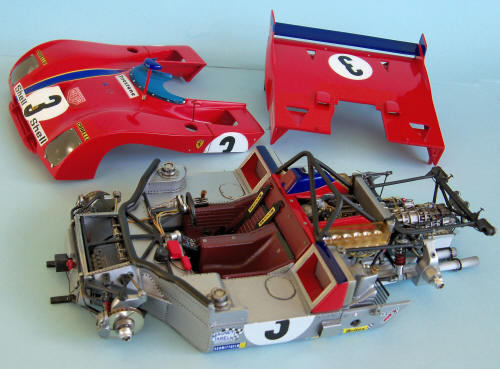
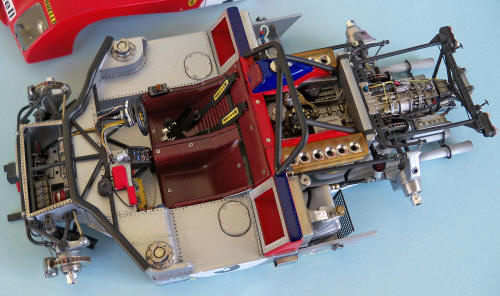
Legal Notice No material from Modeler Site any Web site may be copied, reproduced, republished, uploaded, posted, transmitted, or distributed in any way, except that you may download one copy of the materials on any single computer for your personal, non-commercial home use only, provided you keep intact all copyright and other proprietary notices. Modification of the materials or use of the materials for any other purpose is a violation of copyright and other proprietary rights. Read More here > Legal notice Model Factory Hiro as usual gave us a outstanding kit made of metal and other multimedia parts. It isn’t an easy task to build this model, but in the end you will get a weighty master piece. With this article I aim to share with the reader what I did, I focused on taking as many photos as possible, adding a short explanation about them.
I decided to build the #0886 car, driven by Ronnie Peterson and Tim Schenken at the Nurbürgring 1000km race. The car #3 took the pole position and won that legendary race.
The Ferrari 312PB was a cleverly camouflaged Formula one car covered with a sports car bodywork, that won every race it entered in the 1972 season, giving the last victory in the World Sports Car Championship to the “Cavallino Rampante” from Maranello. This sport prototype holds a special place in Ferrari’s history books as one of the most advanced, exclusive and successful prototypes ever made. Building Looking parts and organizing them Having a MFH kit on your workbench is a great pleasure, examining its parts is even greater.
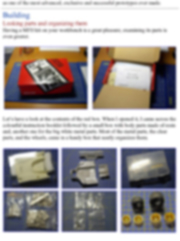
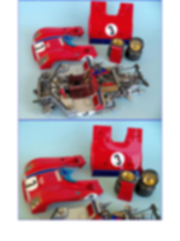
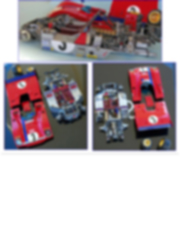
Let’s have a look at the contents of the red box. When I opened it, I came across the colourful instruction booklet followed by a small box with body parts made of resin and, another one for the big white metal parts. Most of the metal parts, the clear parts, and the wheels, came in a handy box that neatly organizes them.
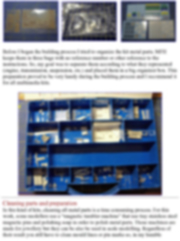
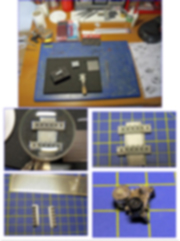
Before I began the building process I tried to organize the kit metal parts. MFH keeps them in three bags with no reference number or other reference to the instructions. So, my goal was to separate them according to what they represented (engine, transmission, suspension, etc.) and placed them in a big organizer box. This preparation proved to be very handy during the building process and I recommend it for all multimedia kits.
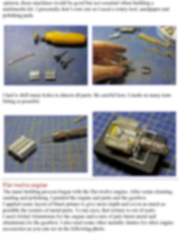
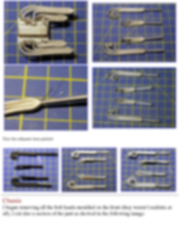
Cleaning parts and preparation In this kind of kits, cleaning all metal parts is a time consuming process. For this work, some modellers use a “magnetic tumbler machine” that use tiny stainless steel magnetic pins and polishing soap in order to polish metal parts. These machines are made for jewellery but they can be also be used in scale modelling. Regardless of their result you still have to clean mould lines or pin marks so, in my humble opinion, these machines would be good but not essential when building a multimedia kit. I personally don’t own one so I used a rotary tool, sandpaper and polishing pads.
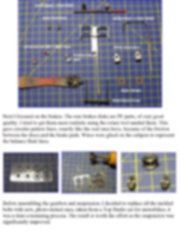
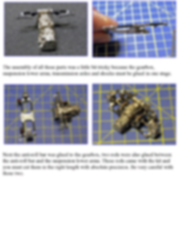
I had to drill many holes in almost all parts. Be careful here, I made as many tests fitting as possible.
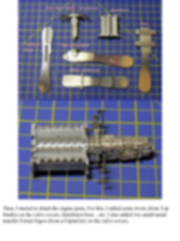
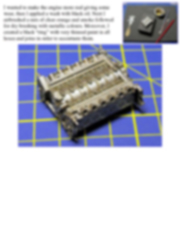
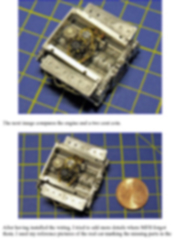
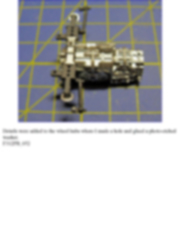
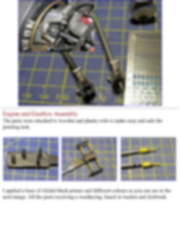
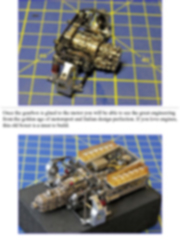
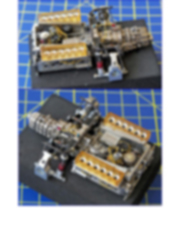
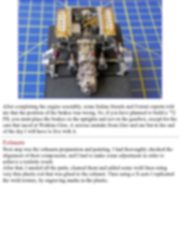
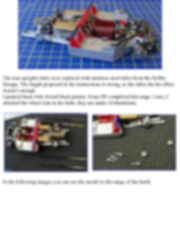
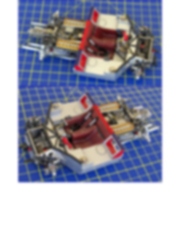
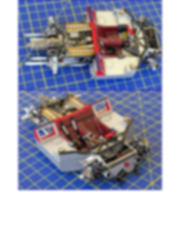
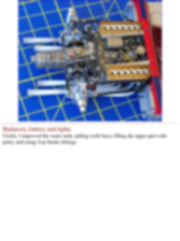
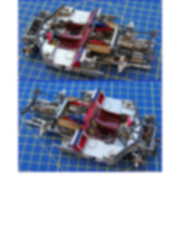
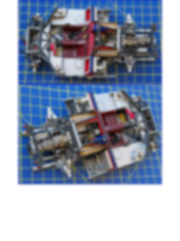
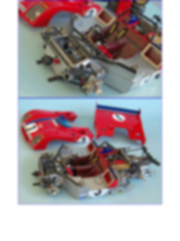
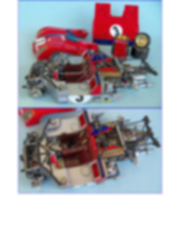
Flat twelve engine The main building process began with the flat twelve engine. After some cleaning, sanding and polishing, I painted the engine and parts and the gearbox. I applied some layers of black primer to give more depth and cover as much as possible the texture of metal parts. To my eyes, that texture is out of scale. I used Alclad Aluminium for the engine and a mix of pale burnt metal and aluminium for the gearbox. I also used some other metallic shades for other engine accessories as you can see in the following photo.
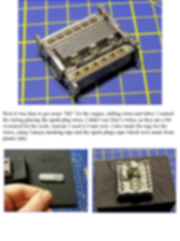
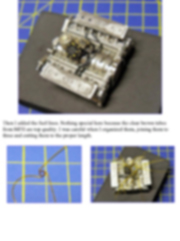
Then, I started to detail the engine parts. For this, I added some rivets (from Top Studio) on the valve covers, distributor base…etc. I also added two small metal transfer Ferrari logos (from a Fujimi kit) on the valve covers.
This article is offered in PDF format to be read or printed using Acrobat reader, contact our webmaster > Here Includes more than 200 pics, here we show only the text pages.
Esta Nota es ofrecida en formato PDF, el cual puede ser leído o impreso usando el Acrobat reader, contacte a nuestro webmaster > Aquí Incluye más de 200 imágenes, aquí solo mostramos las paginas de texto.
Big size photos are only available in our PDF format. Support us ordering our notes in PDF > Here |
|||||||||||||||||||||||||||||||||||||||||||||||||||||||||||||||||||||||||||||||||||||||||||||||||


