|
Cars |
|
||||||||||||||||||||||||||||||||||||||||||||||||||||||||||||||||||||||||||||||||||||||||
|
Building the Hasegawa Lamborghini Jota SVR (1975) for novices, #21214, 1/24 scale |
|||||||||||||||||||||||||||||||||||||||||||||||||||||||||||||||||||||||||||||||||||||||||
|
by Edwing Merlo Paredes © Modeler Site |
|||||||||||||||||||||||||||||||||||||||||||||||||||||||||||||||||||||||||||||||||||||||||
|
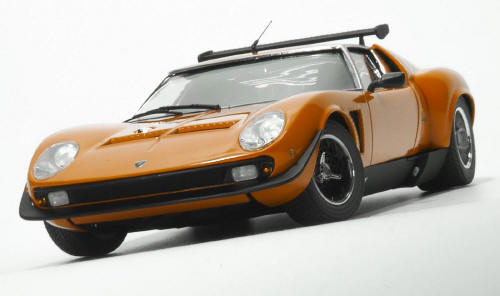
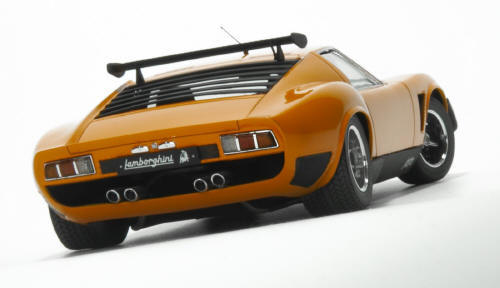
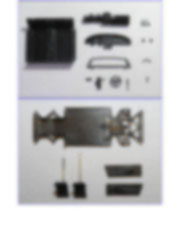
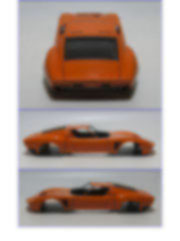
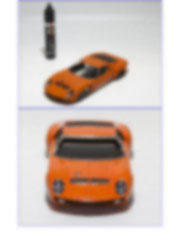
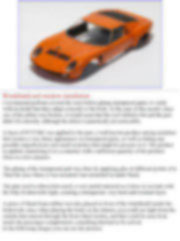
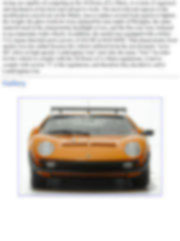
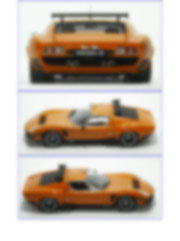
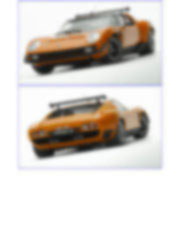
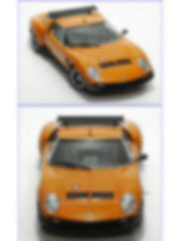
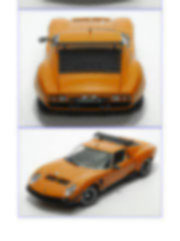
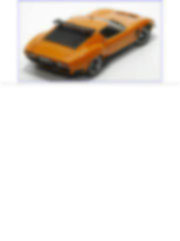
Legal Notice No material from Modeler Site any may be copied, reproduced, republished, uploaded, posted, transmitted, or distributed in any way, except that you may download one copy of the materials on any single computer for your personal, non-commercial home use only, provided you keep intact all copyright and other proprietary notices. Modification of the materials or use of the materials for any other purpose is a violation of copyright and other proprietary rights. Read More here > Legal notice Just like the real car, early in 2004 Hasegawa offered the Lamborghini Jota kit, by adding new parts to his Lamborghini Miura P400 SV kit, also released in 2004. My goal with this tutorial is to share, with the reader especially those with little experience, the steps to achieve a quality model, using simple tools and techniques that anyone can reproduce, with step-by-step photos and detailed explanations.
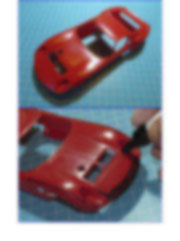
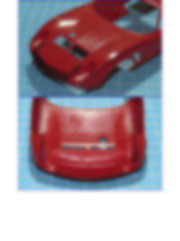
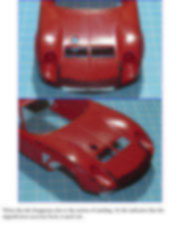
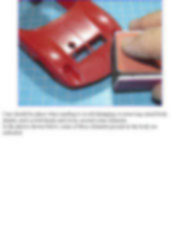
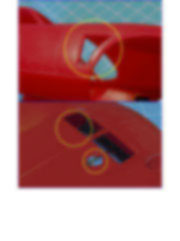
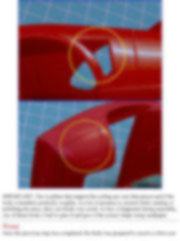
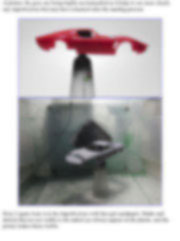
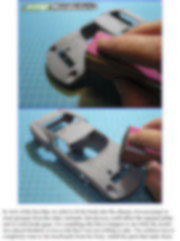
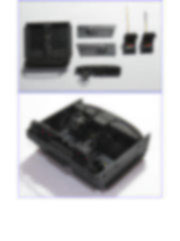
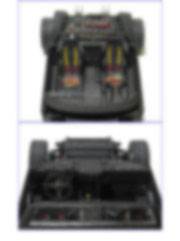
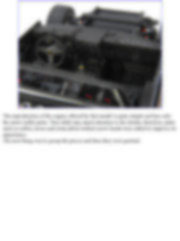
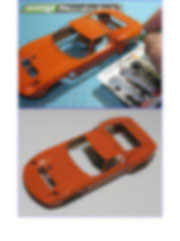
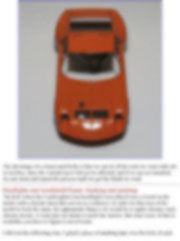
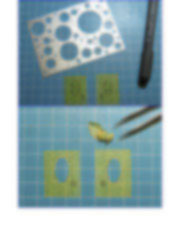
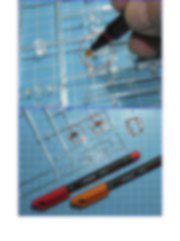
Why detail the motor when it remains hidden and without the possibility of making an optional opening? Construction I built the model straight out of the box, using all the parts included in the kit, and I have added some details in the engine that, although it is not exposed, but it was fun and the work has been reflected in the photos. I added some wires, and generic photo-etched screw heads. These photo-etched parts were also used to detail some other parts of the model. For the paint, a Lamborghini orange tone called Arancio Miura (Gravity Colors Ref. GC-1194) was chosen, and thus, make a different proposal to the red finish proposed by Hasegawa. Bodywork The body of this kit has a lot of burrs and molding marks in
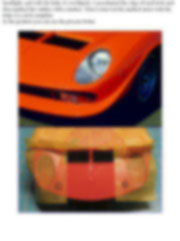
various areas, and it took a good go over to remove all of those blemishes. All
those areas with imperfections have been highlighted with a black permanent
marker, so that the ink penetrates the areas to be treated.
This tutorial is offered in PDF format to be read or printed using Acrobat reader, contact our webmaster > Here Includes more than 130 pics, here we show only the text pages.
Esta Nota es ofrecida en formato PDF, el cual puede ser leído o impreso usando el Acrobat reader, contacte a nuestro webmaster > Aquí Incluye más de 130 imágenes, aquí solo mostramos las paginas de texto.
Big size photos are only available in our PDF format. Support us ordering our notes in PDF > Here |
|||||||||||||||||||||||||||||||||||||||||||||||||||||||||||||||||||||||||||||||||||||||||


