|
Airplanes |
|
|||||||||||||||||||||||||||||
|
Building the Corsair Mk.II 'Pacific Pirate' Tamiya F4U-1a 1/48 scale |
||||||||||||||||||||||||||||||
|
by Jaime Pastor Pueyo © Modeler Site |
||||||||||||||||||||||||||||||
|
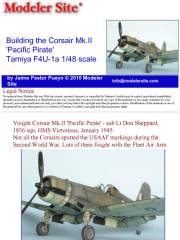
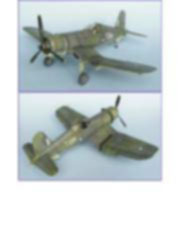
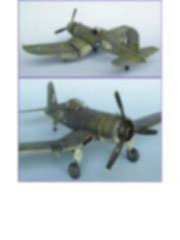
Legal Notice No material from Modeler Site any Web site owned, operated, licensed, or controlled by Damian Covalski may be copied, reproduced, republished, uploaded, posted, transmitted, or distributed in any way, except that you may download one copy of the materials on any single computer for your personal, non-commercial home use only, provided you keep intact all copyright and other proprietary notices. Modification of the materials or use of the materials for any other purpose is a violation of Damian Covalski's copyright and other proprietary rights. Read More here > Legal notice Vought Corsair Mk.II 'Pacific Pirate' - sub Lt Don Sheppard, 1836 sqn, HMS Victorious, January 1945. Not all the Corsairs sported the USAAF markings during the Second World War. Lots of them fought with the Fleet Air Arm from the aircraft carriers HMS Illustrious, Victorious or Formidable: they were the fearsome “Pacific Pirates”. And one of their best pilots, the Canadian Lt Donald J. Sheppard was the onlyone that achieved the As distinction with the Corsair, obtaining four of his five confirmed shoot downs from the Mk.II JT410 and his fifth one from the Mk.II JT537, 4th, 1945.
The kit
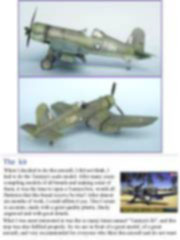
What I was most interested in was the so many times named “Tamiya's fit”, and this step was also fulfiled properly. So we are in front of a great model, of a great aircraft, and very recommended for everyone who likes this aircraft and do not want to pay out more money in aftermarkets. However, in spite of their unquestionable quality, it could always get better with slight details that I will explain in the assembly process. Assembly Before starting a model, it is important to have a good documentation, with period photos of the aircraft and also of the combat environment, drafts and pics of the details as the cockpit, the engine or the undercarriage. So I compiled information from books and magazines I had, and I searched on the Internet everything I needed.
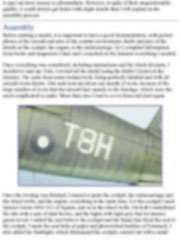
Once everything was considered, including instructions and the whole kit parts, I decided to start up. First, I riveted all the model using the drafts I found on the Internet. The came from some russian book, being perfectly detailed and with all aircraft rivets drawn. This task took me about one month of work, because of the large number of rivets that the aircraft had, mainly in the fuselage, which were the most complicated to make. More than once I had to cover them and start again.
This tutorial is offered in PDF format to be read or printed using Acrobat reader, contact our webmaster > Here Includes more than 53 pics, here we show only the text pages.
Esta Nota es ofrecida en formato PDF, el cual puede ser leído o impreso usando el Acrobat reader, contacte a nuestro webmaster > Aquí Incluye más de 53 imágenes, aquí solo mostramos las paginas de texto.
Support us ordering our notes in PDF > Here Apóyenos ordenando nuestras notas en PDF > Aquí |
||||||||||||||||||||||||||||||


