 |
||||||||||||||||||||||||||||||||||||||||||
|
Formula one |
|
|||||||||||||||||||||||||||||||||||||||||
|
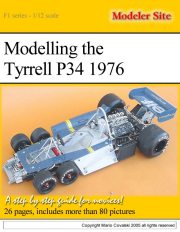
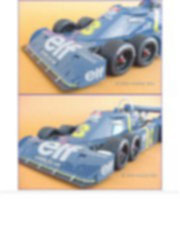
Building the Tyrrell P34 Tamiya 1/12 scale A "step by step", for newcomers |
||||||||||||||||||||||||||||||||||||||||||
|
by Mario Covalski © Modeler Site |
||||||||||||||||||||||||||||||||||||||||||
|
Legal Notice No material from Modeler Site any Web site owned, operated, licensed, or controlled by Mario Covalski & Associated may be copied, reproduced, republished, uploaded, posted, transmitted, or distributed in any way, except that you may download one copy of the materials on any single computer for your personal, non-commercial home use only, provided you keep intact all copyright and other proprietary notices. Modification of the materials or use of the materials for any other purpose is a violation of Mario Covalski & Associated's copyright and other proprietary rights. Read More here > Legal notice Some years ago I built the Tyrrell six, together with the Brabham BT44, and now I feel It was one of the models that means less complexity at the time of its construction and painting. Tamiya's kit allows us, to build the '76 version, and the one that ran the first races in 1977, sponsored by "The First National City" with just a few non essential modifications.
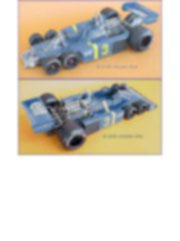
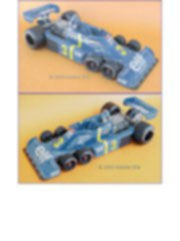
This article aims at providing the beginner a complementary guideline, apart from the Tamiya instruction's manual, including photos of a detailed and quality enough model to encourage him/her in what we could call a hard and laborious work.... facing for the first time with a Tamiya's box.....with a 1/12th inside.
Once your decision has been taken; if you have some experience in other fields of modelling, you can go ahead with an ambitious project, if not, you could build an out of the box one, the details you'll find illustrated here, are easy to be achieved by using simple tools. The Step by Step Step 1 To simplify things, the steering box can be built first, to be painted later. Many Tyrrell six had their steering racks in aluminum color (although Tamiya suggest to paint them black). The whole assembly has to be installed later on, to facilitate the chassis painting job.
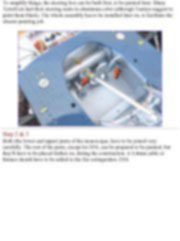
Step 2 & 3 Both (the lower and upper) parts of the monocoque, have to be joined very carefully. The rest of the parts, except for D36, can be prepared to be painted, but they'll have to be placed farther on, during the construction. A 0,4mm cable or thinner should have to be added to the fire extinguisher, D34.
This note is offered in PDF format to be read or printed using Acrobat reader, contact our webmaster > Here Includes more than 80 pics, here we show only the text pages.
Esta Nota es ofrecida en formato PDF, el cual puede ser leído o impreso usando el Acrobat reader, contacte a nuestro webmaster > Aquí Incluye más de 80 imágenes, aquí solo mostramos las paginas de texto.
Big size photos are only available in our PDF format. Support us ordering our notes in PDF > Here |
||||||||||||||||||||||||||||||||||||||||||


