|
Cars |
|
|||||||||||||||||||||||||||||||||||||||||||
|
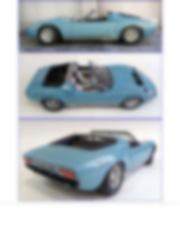
Building the Lamborghini Miura P400 Roadster from the Hasegawa P400SV kit 1/24 scale |
||||||||||||||||||||||||||||||||||||||||||||
|
by Felice Ferriello © Modeler Site |
||||||||||||||||||||||||||||||||||||||||||||
|
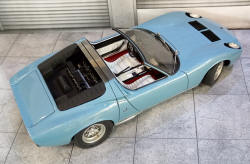
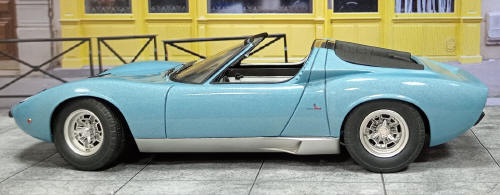
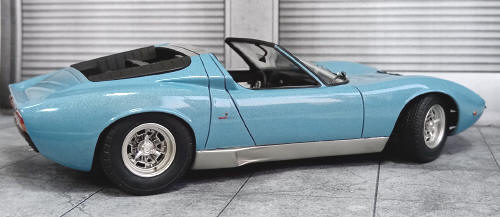
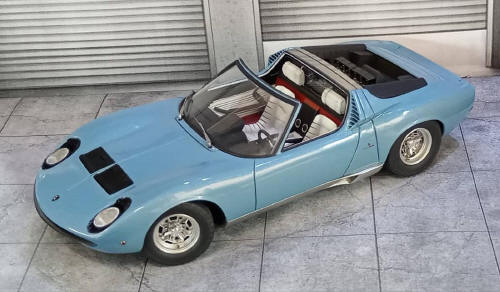
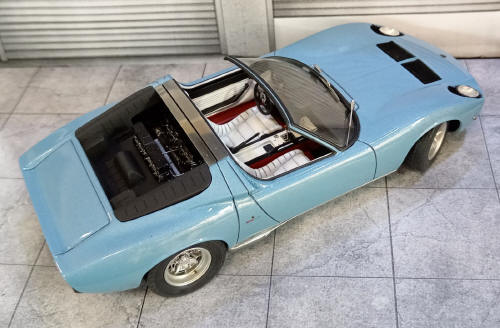
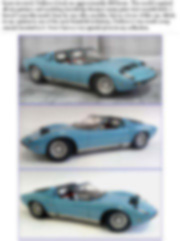
Legal Notice No material from Modeler Site any may be copied, reproduced, republished, uploaded, posted, transmitted, or distributed in any way, except that you may download one copy of the materials on any single computer for your personal, non-commercial home use only, provided you keep intact all copyright and other proprietary notices. Modification of the materials or use of the materials for any other purpose is a violation of copyright and other proprietary rights. Read More here > Legal notice The Miura P400 Roadster was the only convertible in Lamborghini's history, and it is currently exhibited at the MUDETEC Technology Museum, bearing the Sant'Agata Bolognese signature with a very particular history. Based on a P400, it was first showcased at the 1968 Brussels Motor Show. After being displayed at various auto shows, the car was sold to the International Lead-Zinc Research Organization, which converted it into a display vehicle showcasing the possibilities of using zinc alloys in automobiles. The car was named ZN75. Later, it returned to its birthplace.
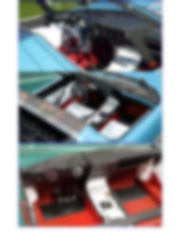
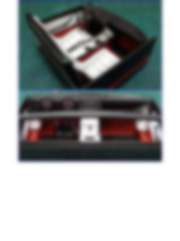
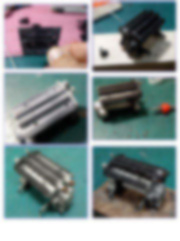
The Lamborghini Miura P400 Roadster is not offered by any manufacturer, so I evaluated whether it was feasible to modify a kit. It was a quite complex challenge to solve, especially in the engine bay, where basically the engine and carburetors are fully exposed. Similarly, the interior varies significantly from the regular version of the car.
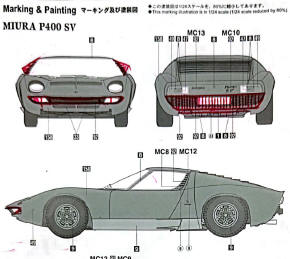
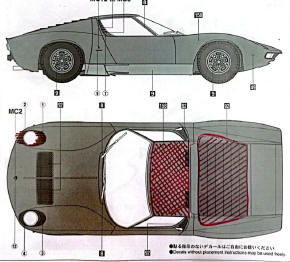
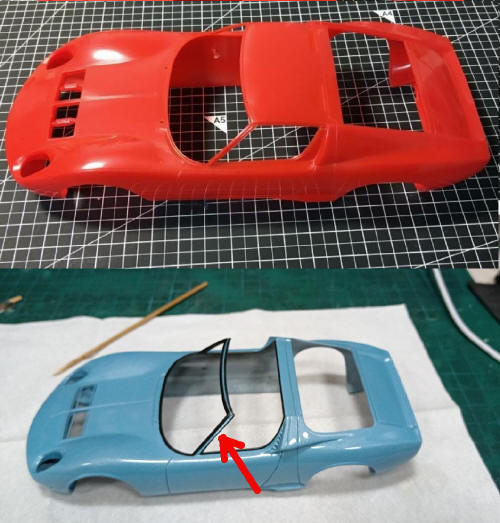
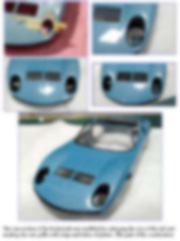
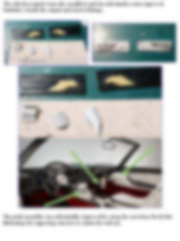
The main modifications include the engine bay, the side air intakes on the doors, the front of the model (as the convertible version corresponds to the 1968 car, as we'll see later), the rear bumper, and cutting the roof to make it convertible.
This tutorial is based on showcasing and explaining the main
modifications to convert the Hasegawa Miura P400 SV kit into the Miura P400
Roadster, as well as the added details. I won't delve into the assembly of basic
components since the purpose is to share with the reader the more complex tasks.
The rest is well-known as the Hasegawa kit has been around for several years.
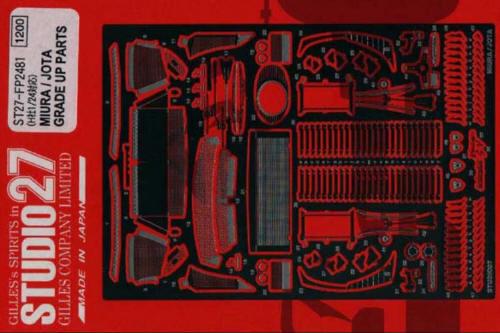
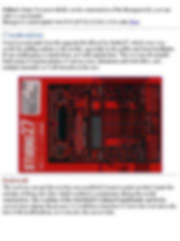
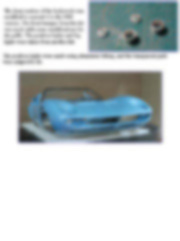
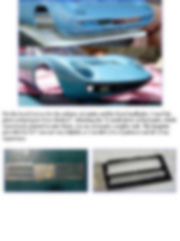
Editor's Note: For more details on the construction of the Hasegawa kit, you can refer to our tutorial. Hasegawa Lamborghini Jota SVR (1975) #21214, 1/24 scale Here Construction I used several parts from the upgrade kit offered by Studio27, which were very useful for adding realism to the model, especially in the grilles and front headlights. It was challenging to attach them, as I will explain later. The rest was all scratch-built using Evergreen plastic of various sizes, aluminum and steel tubes, and multiple materials as I will describe in the text.
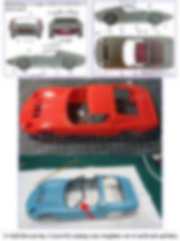
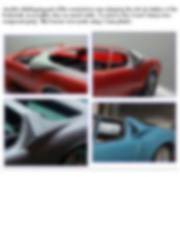
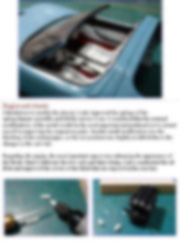
Bodywork The roof was cut and the rear bay was modified. I want to point out that I made the mistake of doing this first, which resulted in a nightmare during the model construction. The A-pillars of the windshield weakened significantly and broke several times during the process. It would have been best to leave the roof cut as the last of all modifications, as it was also the easiest task.
This tutorial is offered in PDF format to be read or printed using Acrobat reader, contact our webmaster > Here Includes more than 100 pics, here we show only the text pages.
Esta Nota es ofrecida en formato PDF, el cual puede ser leído o impreso usando el Acrobat reader, contacte a nuestro webmaster > Aquí Incluye más de 100 imágenes, aquí solo mostramos las paginas de texto.
Big size photos are only available in our PDF format. Support us ordering our notes in PDF > Here |
||||||||||||||||||||||||||||||||||||||||||||

