|
Airplanes |
|
|||||||||||||||||||||||||||||||||||||||||||||||||
|
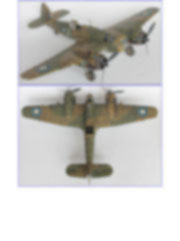
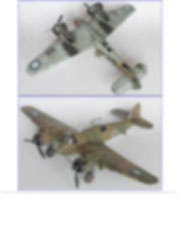
Building the Bristol Beaufighter Mk.Ic from the Tamiya Mk.Vic kit 1/48 scale |
||||||||||||||||||||||||||||||||||||||||||||||||||
|
by Jaime Pastor © Modeler Site |
||||||||||||||||||||||||||||||||||||||||||||||||||
|
Legal Notice No material from Modeler Site any Web site may be copied, reproduced, republished, uploaded, posted, transmitted, or distributed in any way, except that you may download one copy of the materials on any single computer for your personal, non-commercial home use only, provided you keep intact all copyright and other proprietary notices. Modification of the materials or use of the materials for any other purpose is a violation of copyright and other proprietary rights. Read More here > Legal notice The Bristol Beaufighter was a fighting aircraft used in several fronts, but it was more active and lethal in the Pacific theatre, many of them by the Royal Australian Air Force –RAAF.
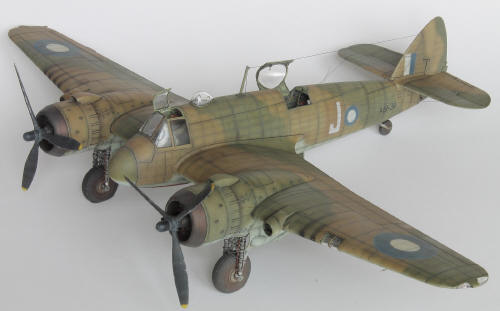
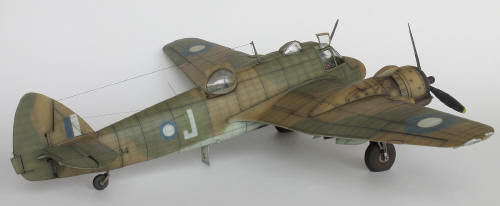
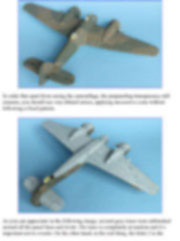
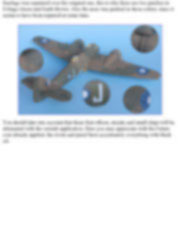
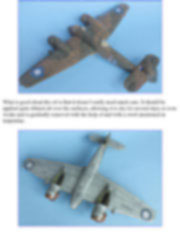
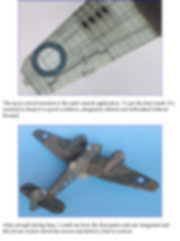
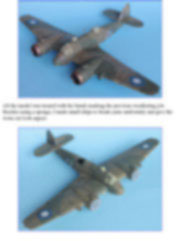
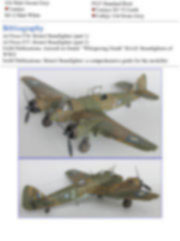
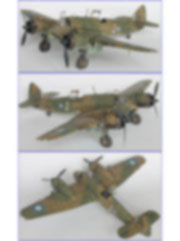
30 Squadron Beaufighters saw action mainly in New Guinea from 1942 to 1944 putting up with a hard tropical climate, extreme conditions for the machines that were visible damaged and worn out. And something more, you should have into account that the combats were frequent and the replacement machines didn’t arrive so often as the allies would have desired. This aircraft in particular A19-34 was delivered with the original RAF colors Dark Green, Dark Earth and Sky Type S, and in destination was designed with the J letter, covering the original marks with paint patches in Australian colors: a lighter and colourful green -Foliage Green-and a reddish earth Earth Brown- Also, it had to be repaired al least four times until up to the moment in which I wanted to represent it, just before its crash landing on March 22nd 1943. After repaired, it was repainted in Australian colors and assigned a new code LYD. If you take into account all these details, a faded paint on the upper surfaces, many marks and rubbing over the paint, tiny chips, oil leaks and any other weathering effects is recommendable. The kit
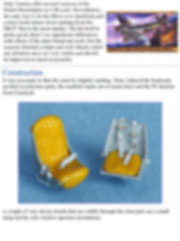
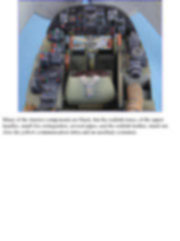
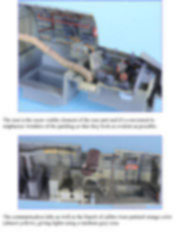
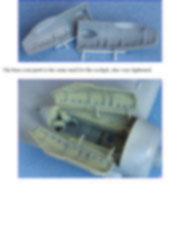
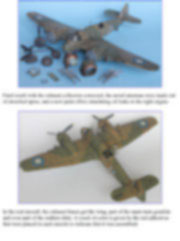
Construction It was necessary to thin the seats by slightly sanding. Then, I placed the backseats molded in polyester putty, the seatbelts made out of metal sheet and the PE buckles from Extratech.
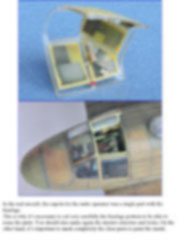
A couple of very showy details that are visible through the clear part, are a small lamp and the side window aperture mechanism. This article is offered in PDF format to be read or printed using Acrobat reader, contact our webmaster > Here Includes more than 70 pics, here we show only the text pages.
Esta Nota es ofrecida en formato PDF, el cual puede ser leído o impreso usando el Acrobat reader, contacte a nuestro webmaster > Aquí Incluye más de 70 imágenes, aquí solo mostramos las paginas de texto.
Big size photos are only available in our PDF format. Support us ordering our notes in PDF > Here |
||||||||||||||||||||||||||||||||||||||||||||||||||


