|
Airplanes |
|
|||||||||||||||||||||||||||||||||||||||||||||||||||
|
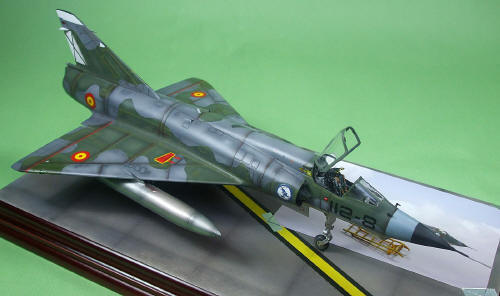
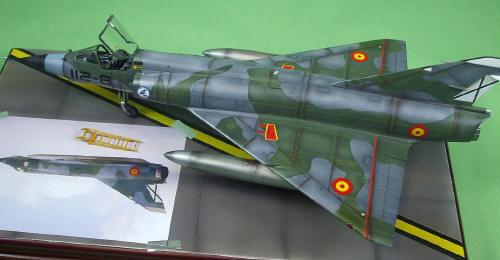
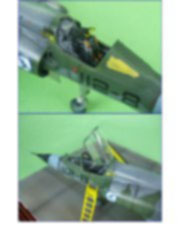
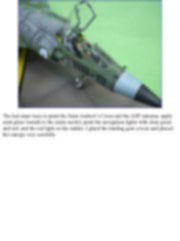
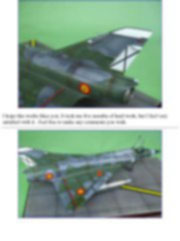
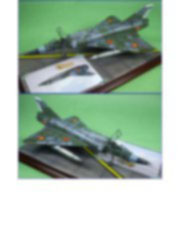
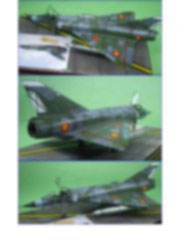
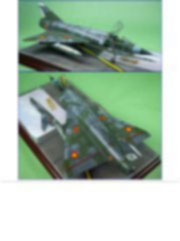
Building the Mirage IIIEE of the Spanish Air Force from a Eduard Mirage IIIC - 1/48 scale |
||||||||||||||||||||||||||||||||||||||||||||||||||||
|
by Jose Angel García Martin © Modeler Site |
||||||||||||||||||||||||||||||||||||||||||||||||||||
|
Legal Notice No material from Modeler Site any Web site owned, operated, licensed, or controlled by Damian Covalski may be copied, reproduced, republished, uploaded, posted, transmitted, or distributed in any way, except that you may download one copy of the materials on any single computer for your personal, non-commercial home use only, provided you keep intact all copyright and other proprietary notices. Modification of the materials or use of the materials for any other purpose is a violation of Damian Covalski's copyright and other proprietary rights. Read More here > Legal notice When I started to think about this project, I knew it would be a problem since there’s not a kit available in the market for the Mirage III EE I intended to build. Thus, I began looking for kits to be able to accomplish it, I also looked for seats, cockpit and so. Finally, I decided to use the Eduard Mirage IIIC and a transkit from Aconcagua Models.
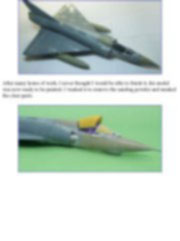
I have to say that I’m reluctant to make pejorative comments to those that, with effort, encourage us to make different models but in this case, I have no alternative. The resin from Aconcagua is bad designed and you’ll have to spend many hours so that the model matches the real thing. Besides, I had to make a lot of parts of the model from scratch. Construction As I stated before I tried to make a conversion from an Eduard Mirage IIIC to a Mirage IIIEE which served in the Ejercito del Aire. There are a lot of differences between the IIIC and the IIIE. In the following picture you can appreciate the resin and the front part of the kit, see the differences.
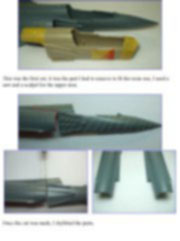
This was the first cut, it was the part I had to remove to fit the resin one, I used a saw and a scalpel for the upper area.
Once the cut was made, I dryfitted the parts.
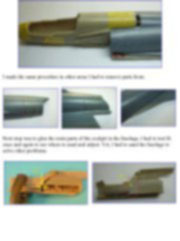
I made the same procedure in other areas I had to remove parts from.
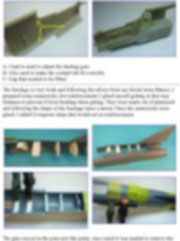
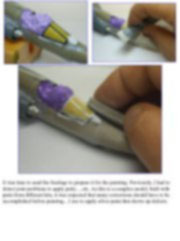
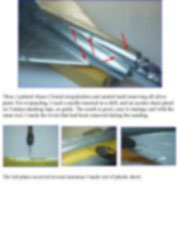
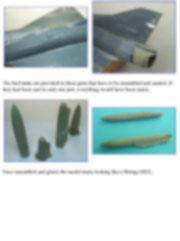
Next step was to glue the resin parts of the cockpit in the fuselage, I had to test fit once and again to see where to sand and adjust. Yet, I had to sand the fuselage to solve other problems.
A: I had to sand to adjust the landing gear. This note is offered in PDF format to be read or printed using Acrobat reader, contact our webmaster > Here Includes more than 110 pics, here we show only the text pages.
Esta Nota es ofrecida en formato PDF, el cual puede ser leído o impreso usando el Acrobat reader, contacte a nuestro webmaster > Aquí Incluye más de 110 imágenes, aquí solo mostramos las paginas de texto.
Big size photos are only available in our PDF format. Support us ordering our notes in PDF > Here |
||||||||||||||||||||||||||||||||||||||||||||||||||||


