|
|
|||||||||
|
Formula one |
|
||||||||
|
The Ferrari 312T2 Niki Lauda World Champion1977 Tameo Superkit WCT77 Part II |
|||||||||
|
by Peter Radcliffe |
|
||||||||
|
Part I > Here Having introduced the Tameo Ferrari 312T2 in my last report on this kit it is time to break open the bags and start the build. I spent time looking at the instructions. The golden rule is to follow the instructions and the first 12 sections relate to building up the engine, gearbox and rear suspension. However what really appealed to me was the assembly of the photoetch chassis.
I have built several Marsh Can Am cars with a partial photoetch chassis but never anything as complete or detailed as this. All my customers who have built one of these kits have raved about how simply the chassis went together but they are all experienced F1 and Tameo builders. Could it really be this simple with so many parts?, my fears were groundless as so far all has been simple and no snags encountered. In fact the hardest thing has been finding the parts as there are 9 sheets of photoetch parts. The plans of these parts are very clearly laid out in the instructions and just finding the number at times took time. Once the correct sheet was identified the parts were easily found and removed.
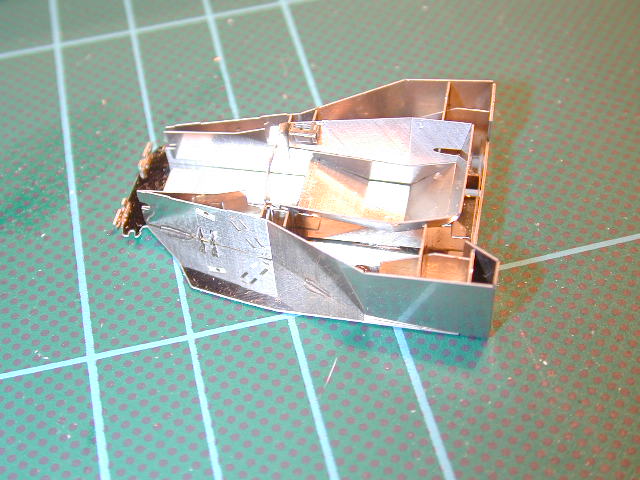
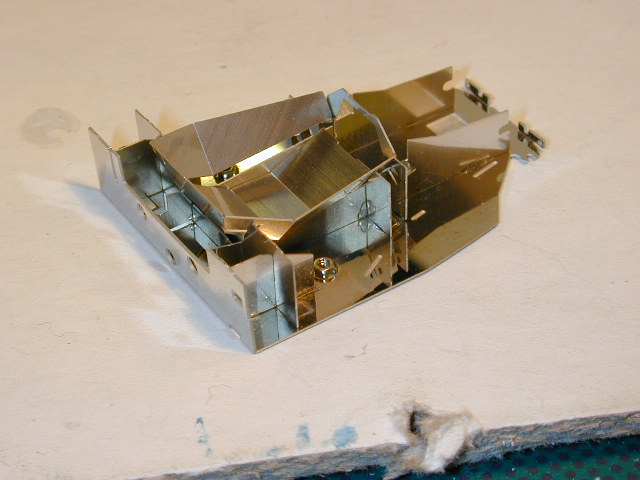
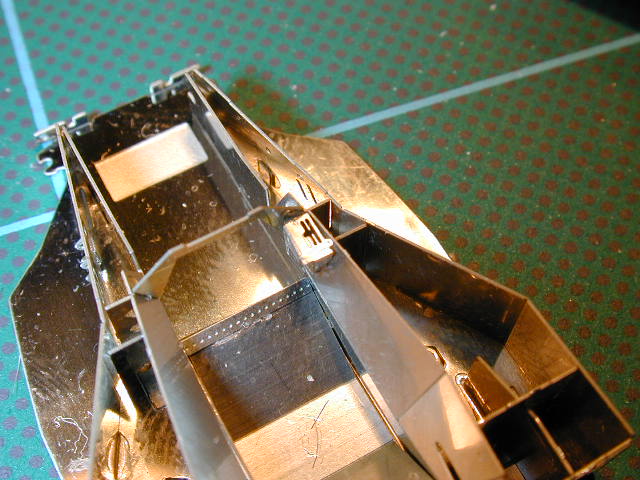
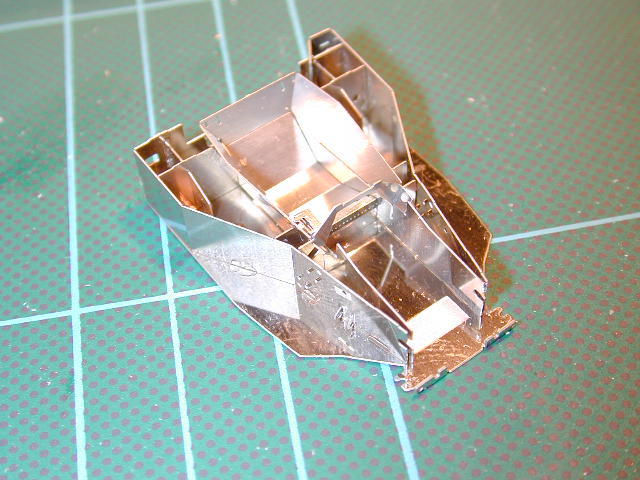
Where parts had to be bent the fold was clearly etched and bending was accurate and easy. Every thing fitted easily and an absolute minimum of super glue was used to fix all the parts together. The only sad aspect of this is that some of the detail will only ever be seen by the builder. Thus far the building of this kit has been a very satisfying experience and while I would not suggest that a newcomer to 43rd started with this kit, with patience a moderately experienced builder should be able to consider this as a project.
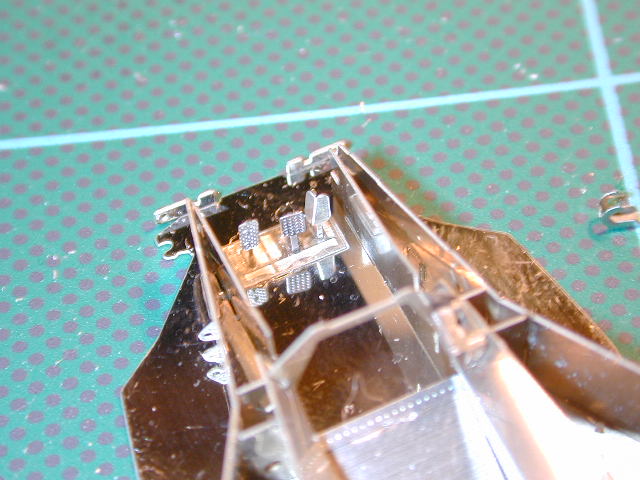
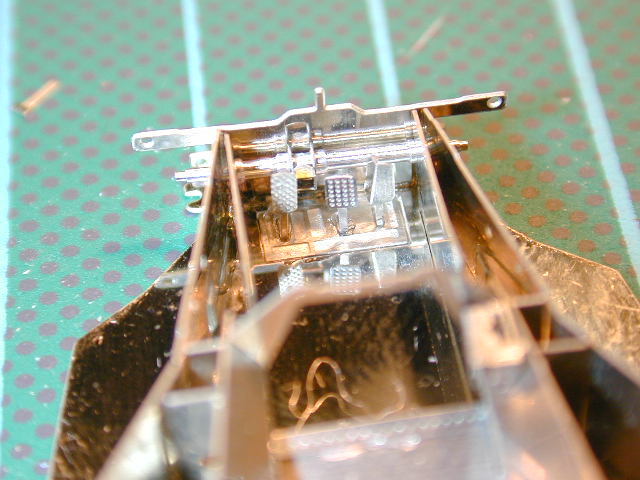
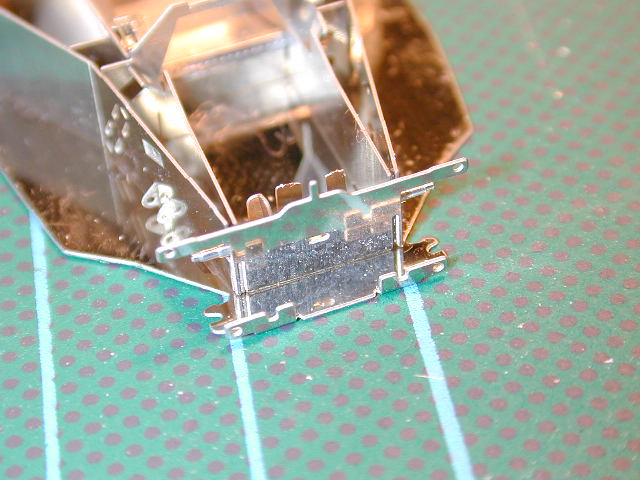
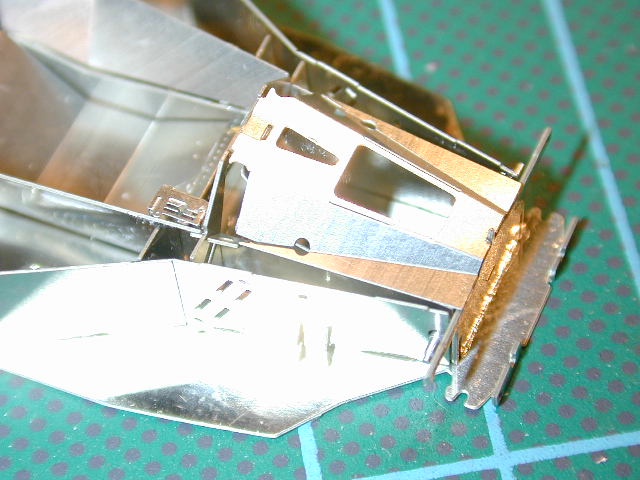
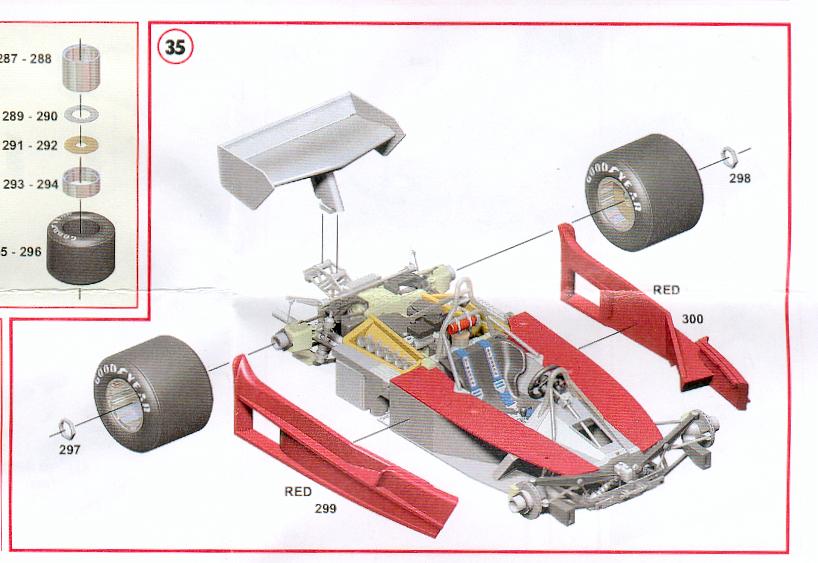
The pictures show several stages of the construction, many of the parts slot together and the structure rapidly becomes very rigid. The accuracy of the parts and fit ensure that there are no distortions at all. Things to notice are the lovely gear selector box, the pedals, the tiny brackets on the bottom of the monocoque sides for the lower wishbone attachments. In fact careful study will reveal a host of tiny detail. Support us ordering our notes in PDF > Here |
|||||||||