|
Armor - R/C |
|
|||||||||||||||||||||||||||||||||||||||||||||||
|
Restoring and detailing an Leopard 1A4 suitable for R/C Tamiya 1/16 scale |
||||||||||||||||||||||||||||||||||||||||||||||||
|
by Mario Covalski © 2005 Modeler Site |
||||||||||||||||||||||||||||||||||||||||||||||||
|
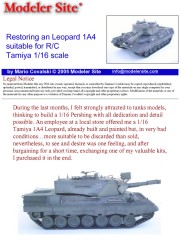
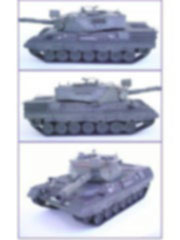
Legal Notice No material from Modeler Site any Web site owned, operated, licensed, or controlled by Damian Covalski may be copied, reproduced, republished, uploaded, posted, transmitted, or distributed in any way, except that you may download one copy of the materials on any single computer for your personal, non-commercial home use only, provided you keep intact all copyright and other proprietary notices. Modification of the materials or use of the materials for any other purpose is a violation of Damian Covalski's copyright and other proprietary rights. Read More here > Legal notice During the last months, I felt strongly attracted to tanks models, thinking to build a 1/16 Pershing with all dedication and detail possible. An employee at a local store offered me a 1/16 Tamiya 1A4 Leopard, already built and painted but, in very bad conditions…more suitable to be discarded than sold, nevertheless, to see and desire was one feeling, and after bargaining for a short time, exchanging one of my valuable kits, I purchased it in the end.
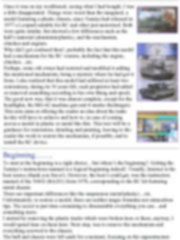
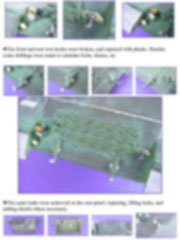
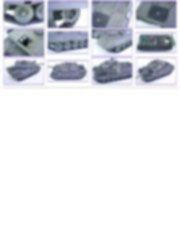
Beginning……. To start at the beginning is a right choice…but where’s the beginning?. Getting the Tamiya’s instructions manual is a logical beginning indeed!. Usually, Internet is the best source (thank you Steve!). However, the best I could get, was the instruction manual of the 56002 (RA201) from 1978, corresponding to the RC kit featuring metal chassis. There are important differences like the suspension (metal/plastic)…etc. Unfortunately, to restore a model, there are neither magic formulas nor miraculous tips. The secret is just time consuming to disassemble everything you can…and something more. I started by removing the plastic tracks which were broken here or there, anyway, I would spend time on them later. Next step, was to remove the mechanism and everything screwed to the chassis. The hull and chassis were left aside for a moment, focusing on the superstructure and turret. First, I checked if some part was loose, finding that some of them could easily be removed. For instance, I discovered a missing ring from the machine gun, inside the turret, the other had been virtually pulled out, and the search light was not correctly placed. Most of the handles were either missing or broken, someone had scratchbuilt ones from wire in a previous life, but most of them were still missing. The smoke dischargers guards were also missing as well as the base for the radio antennas. I removed everything it was possible, including the tools, hatches, meshes of the engine vents …etc
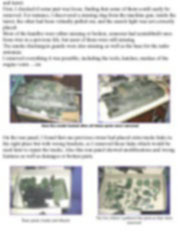
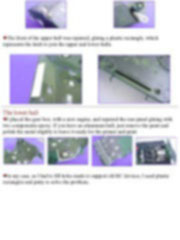
On the rear panel, I found that one previous owner had placed extra tracks links in the right place but with wrong brackets, so I removed those links which would be used later to repair the tracks. Also this rear panel showed modifications and wrong features as well as damages or broken parts.
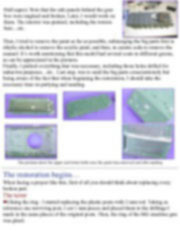
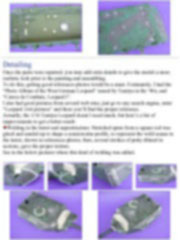
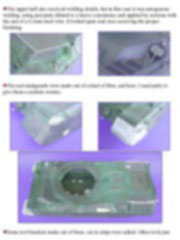
Then, I tried to remove the paint as far as possible, submerging the big parts first in ethylic alcohol to remove the acrylic paint, and then, in caustic soda to remove the enamel. It’s worth mentioning that this model had several coats in different greens, as can be appreciated in the pictures. Finally, I puttied everything that was necessary, including those holes drilled for unknown purposes…etc . Last step, was to sand the big parts conscientiously but being aware of the fact that when beginning the restoration, I should take the necessary time on puttying and sanding.
This is a technical article of 21 pages A4, 110 pictures, and is only available in pdf format.
Big size photos are only available in our PDF format. Support us ordering our notes in PDF > Here |
||||||||||||||||||||||||||||||||||||||||||||||||


